Hello all and welcome to this very exciting post.
This is the post that I have been working on for a while now as it has taken some time to finish my new Girls Shed..
I started off my scrapping obsession on a trestle table which I quickly outgrew. Then I overtook a spare room and then most of the built-in wardrobe of that room. Having out grown that space my hubby suggested re-purposing an underutilized shed just off the side of our back deck.
Well of course I jumped at that.
So now I can finally post all my pictures to show you my new craft space called
" The Confetti Box"
So grab a cuppa because there are quiet a few photos and some storage ideas.
Some mine some I've seen on the net.....
 |
This is the old space. It was games/bar room off our deck but quickly
developed into a storage dumping area.
 |
This is the same space cleaned out.
This is facing to the eastern end. |
 |
My new space is born.
Insulated and lined with pine boards.
This is looking to the western end. |
 |
This is looking to the eastern end with the double french doors which I decided to keep.
We added a small window to utilise the easterly breezes in
the afternoon. ( the joy of living near the beach)
That's where the coffee station and fridge is ( see later photo's). |
Yeah !!!!
The floor has finally dried and now
the storage can be put into place.
|
Yes this is the other end, the end facing east.
More storage, a girl can't have to much storage.
It is so big and has so much room.
Starting from the western end I will try to work my way around the room, sharing as I go.
These are my paper racks that my hubby built for me.
We bought some cube storage from Bunnings and then he added all the shelves,
9 in each square.
These are for all my patterned paper so I now have a total of
"160"
shelves for all my patterned papers WOW !!
You can see that I am using all my old metal paper stand just for my plain cardstock.
It makes it so much easier to find the colours.
"My New Inking Station"
This is an old TV unit that I re purposed when my father-in-law bought a new one. It was painted and my hubby added the light and the bits of timber to stop the sprays from falling out. A small rack to hold gloves, spray water bottle and paper towel.
I love that I can keep all my sprays, paints in the one spot close to where I'm using them.
This was a lost little corner so it hides my tripod. I found the drying thing in Ikea and its fantastic to hold all my smaller stencils. I used some rings to hang the stencils on the peg them up. So easy to find the stencil that I after.
On the side of the inking station door you can see my bigger stencils hanging on a hook.
My trolleys sit her when I'm not using them but I have changed what I am storing in the white plastic trolley. You will see just a little further down the post.
The green storage cubes are also from Bunnings and fit perfectly into the cube storage unit. I keep all sorts of bits and bobs in the 8 on the left... string, doilies, hessian, all my laces...
In plastic trays I keep all my inks, Gelatos, Big Brushes, washi tapes, silk paints.... I can just turn around and find the ink pad that I'm after.
On the top of the unit I have 2 small display units which in 1 my bottles of stickles are all stored upside down and in the other my Micro beads and and sequins are stored.
The other 8 cubes store my stamps and other bits and pieces that i might not use quiet as often.
In the 8 green storage boxes on the right are all my loose flowers. You know when you open a packet and just have a couple left well that were I put all mine. So easy when doing a page, just pull out the appropriate box and I can usually find another flower to add to my page.
I hung some of my favorite layouts around the top of the room, just for a bit of inspiration.
A clock because time does just fly when I'm n here.
This is " My Office" in the corner, you can see my computer and printer, my cork board for all those important messages, and of course my TV, love a little white noise when I'm working on a page. I do have a stereo in the room with the speakers mounted in the ceiling so I can use either.
A couple of sets of draws to hold printer paper and other paperwork.
You cant see them but on the side of the inking station I have some vertical document shelves that hold all the upcoming challenges for the Design Team I'm on. : )
 |
The Big Picture and a couple of other ideas...
The plastic draws at the right end of the cubes hold all my photos. I have ay totes that I use for retreats are stored next to the too. The florescent light are " daylight" tubes and all 3 are independent of each other.
Your can also see that we had some power-points attached to the roof over my work station. This was one of the best ideas as now I don't have leads lying across my pages as I work. |
 |
This is where my baby sleeps whilst I play.
In this photo you can see my new chairs that my hubby bought me from Ikea.
They are so colorful and just suit my room.
Love these chairs, so comfy and so bright.. |
 |
This is how I'm using my white trolley for now, my paints in the top basket. In the next basket I keep Gesso, Impasto, Texture paste and all those mediums.
On the bottom basket is my heat gun and glue and my Crop- A- Dile and the trimmer just sits on one of the baskets. |
Now we are heading towards the Eastern End.....
The 2 wires racks under the trestle table are on rollers and they hold all my left over bits of card stock and patterned paper. I've sorted them into colours so when I working on a page I can hunt through these for an extra layer or die cut. I think I have saved myself heaps of cardstock by using this method. Before I would have just cut into a new piece.
This old buffet has been " hanging " around so I decided to finally do something with it. Painted and it now has a permanent home in The Confetti Box. It hold my sewing machine, punches and the stereo. I also keep spare cups for friends who come to scrap.
The is the coffee station with a small bar fridge. In the afternoon I get a lovely sea breeze trough this window. I had all these small punches in a box and located in my stash this hanging gizmo. Perfect for all those tiny punches.
The wooden boxes on the floor hold corrugated board and backgrounds that I have started but never used.
The long view to the east
Along this wall I have all my " power tools". To start with I have my Brother Cut and Scan, the my electric distresser, another heat gun for embossing and my Big Shot. In the wire baskets under the power tools are the corresponding equipment. You can see some little containers under the shelf, these have embossing powder in them. We screwed the lids to the shelf and that way I only have to unscrew the bottom part.
In the jars you can see I store all my ribbons and buttons.
My Big Shot and die folders. This is how I store my die's.
You can see it better in the next photo.
The 2 cupboards on the wall I will open and show you what I keep in those in a couple of photo's further down the post. My beautiful son Wade made these cupboards for me.
Yes these are 4 ring folders with plastic document sleeves with magnetic sheets in them.
You can buy the magnetic sheets from Office works and the clear plastic sleeves. Just be warned they get very heavy if you have to many sleeves in one folder.
SEE FURTHER DOWN - I HAVE A NEW WAY TO STORE DIES
My Special Cupboards made by my son Wade
As you can see this side holds all my chipboard pieces. The cupboard is as deep as the medicine cupboard that we all have in our bathrooms. I added the hooks and voila !!
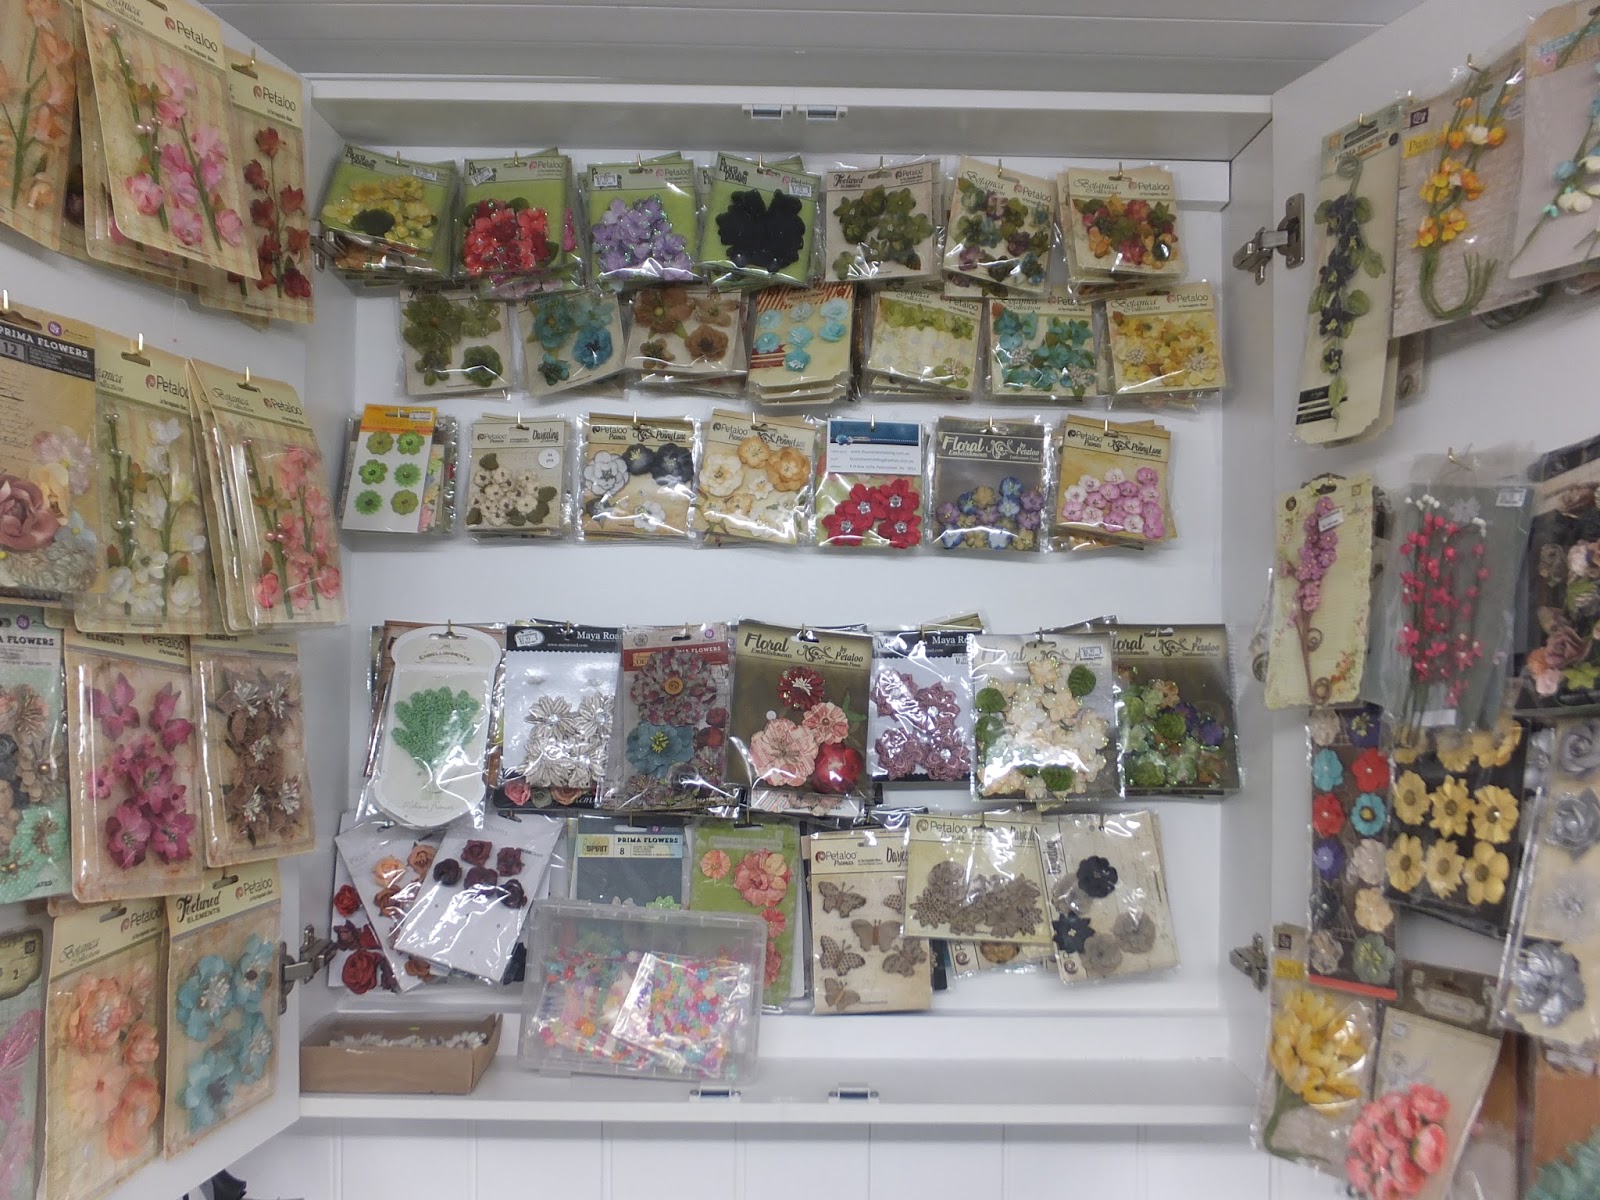
This side holds all my packets of flowers. Having them in the cupboard makes it so much easier to see what colours I have and what styles. Remember I still have the loose one on the other side of the room in the green cubes. Yes this is my obsession.. My Flowers !!
Just some spare shelves near my office. These boxes are empty at the moments.
I have a lot of empty spaces now just waiting to be filled.
Anita from Facebook sent me this idea and I have implemented in The Confetti Box. Love it and what a great way to store your dies. I must say I do use more of my dies now.
My new scrap space
"The Confetti Box"
named by my son Wade.
I would like to take this opportunity to thank my beautiful hubby Pat and my son Wade for creating this amazing space for me to immerse myself in my obsession.
 Thank you for stopping by
I hope you enjoyed the journey into my new space
The Confetti Box.
Thank you for stopping by
I hope you enjoyed the journey into my new space
The Confetti Box.
till next time
keep on scrapping
Carol xx